WiFi Bird Camera Setup Guide: Installation, Placement, and Optimization
A properly installed WiFi bird camera transforms your backyard into a live observation station. The difference between a frustrating setup that misses birds and a seamless experience that captures every visit comes down to three factors: placement, network quality, and feeder positioning.
Installation Steps
WiFi Camera Setup Checklist
- Choose a location 5–10 feet from the feeder pole
- Ensure strong WiFi signal (minimum -65 dBm at camera location)
- Mount camera at 5–7 feet height, angled slightly downward
- Connect to 2.4 GHz WiFi band (better range than 5 GHz)
- Download companion app and create account
- Run test shots and adjust angle for optimal framing
- Fill feeder and allow 24 hours for bird acclimation
Placement Best Practices
Camera placement affects both image quality and bird behavior. Position the camera so birds land within the frame but not so close that they feel threatened. A distance of 3–6 feet from the feeding platform produces the best shots. Avoid direct sunlight behind the camera, which causes glare.
Camera Placement Specifications
Network Requirements
WiFi Tips
Our AI Smart Bird Feeder requires a stable 2.4 GHz WiFi connection. If your router is more than 50 feet away with walls in between, consider a WiFi extender. A weak signal causes missed captures and delayed notifications.
Optimization
After initial setup, review footage for 3–5 days and adjust as needed. If birds are out of frame, lower the angle. If images are blurry, clean the lens. If notifications are delayed, check WiFi strength. Fine-tuning ensures consistent results.
Setup Statistics
Q: What if I don't have WiFi at my feeder location?
A: Some feeders support SD card storage as an alternative. However, WiFi enables real-time notifications and cloud backup. Consider extending your network with a WiFi extender or mesh system.
Featured Birds
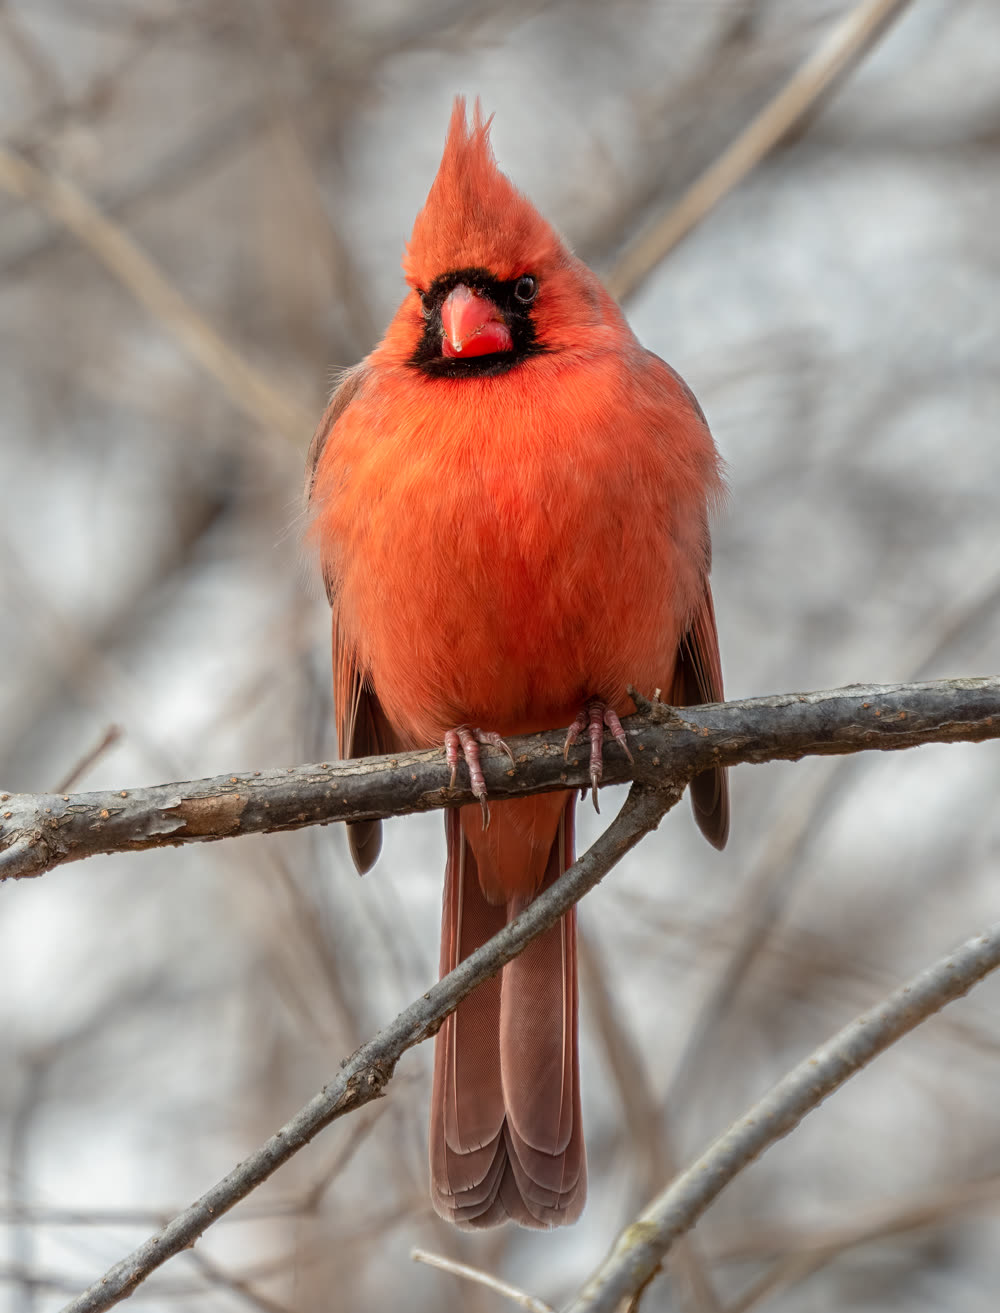
Northern Cardinal
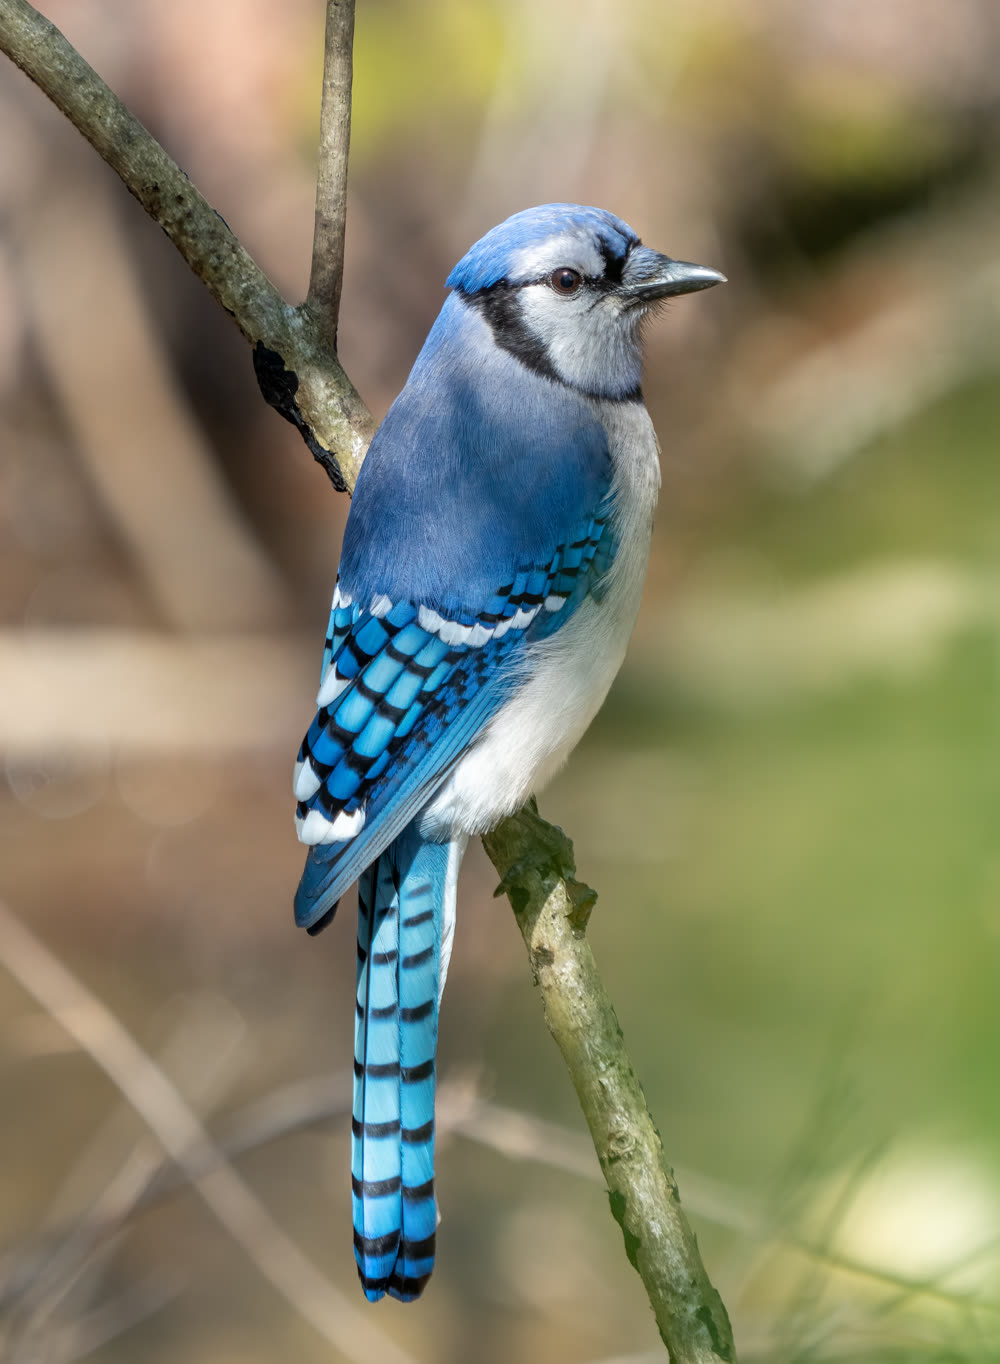
Blue Jay
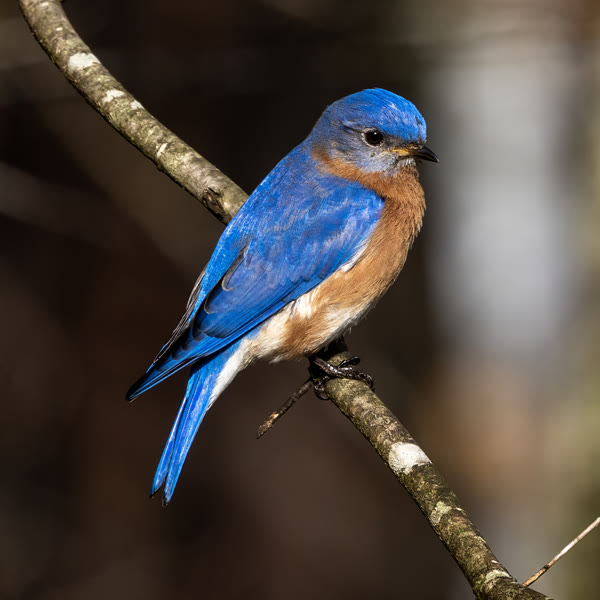
Eastern Bluebird
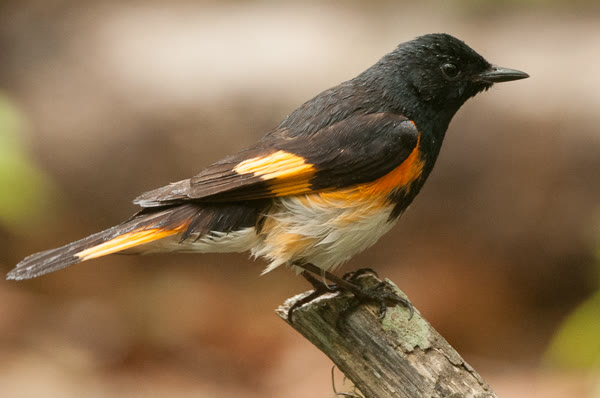
Warbler